Image relevance check
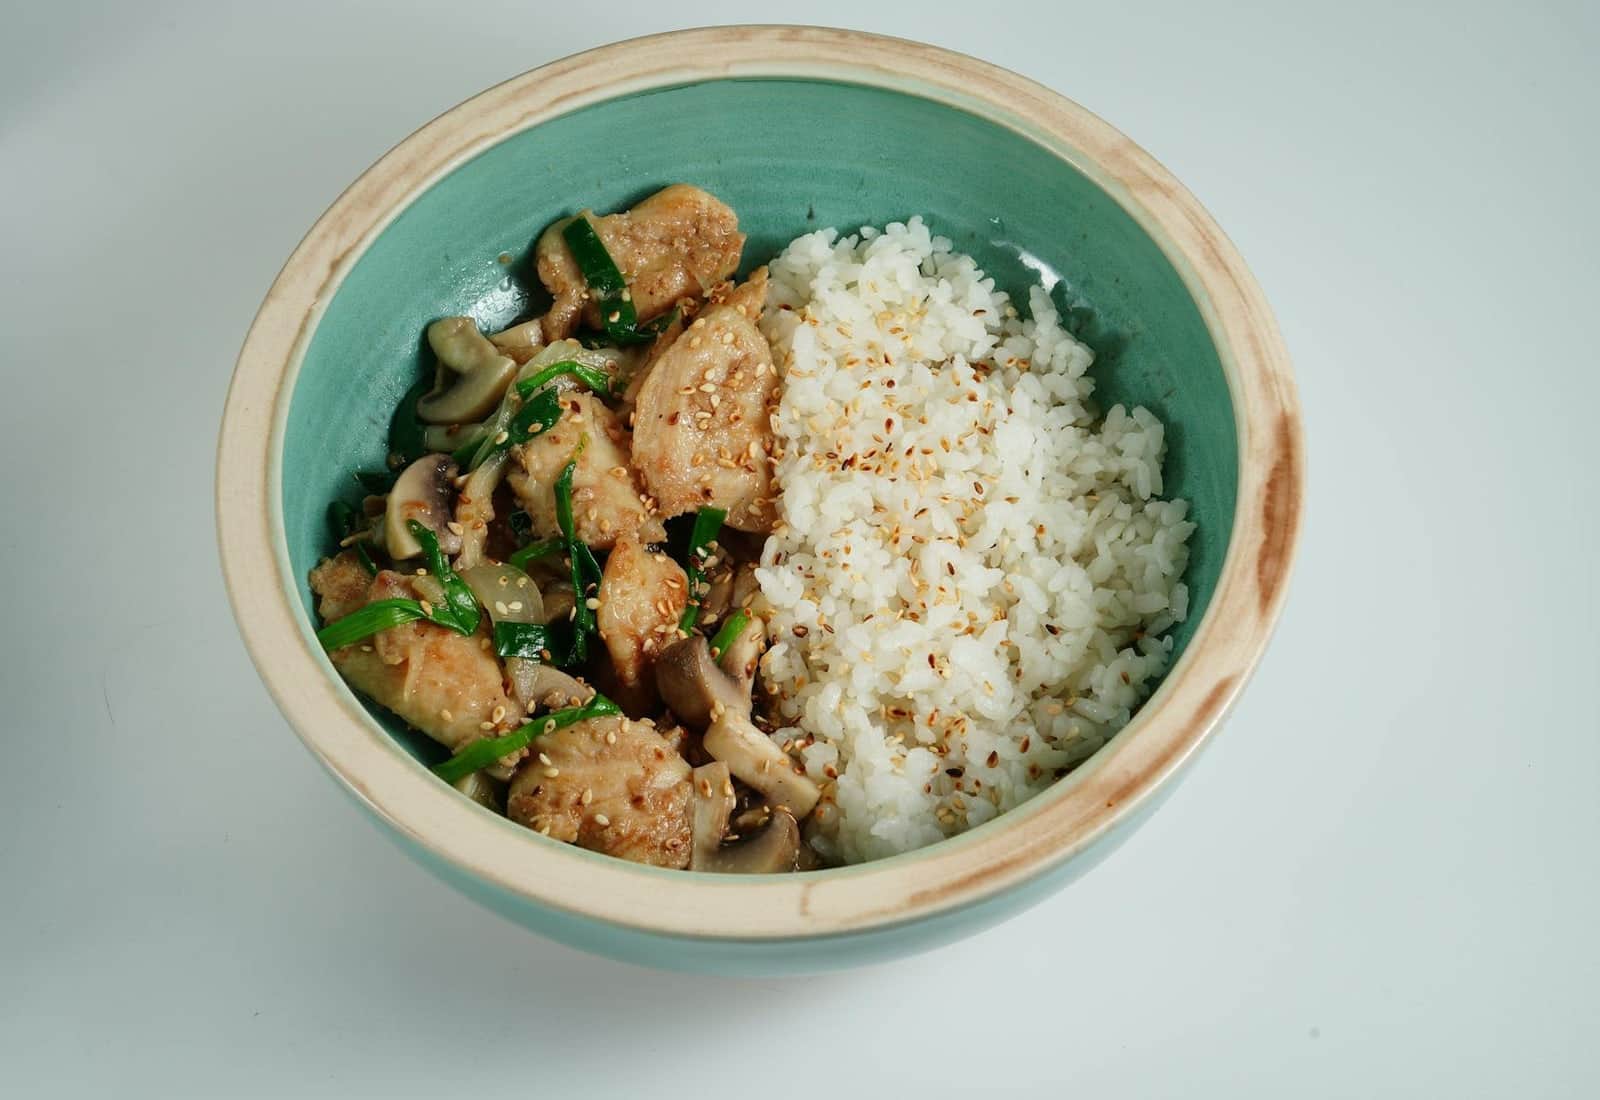
The hero image is reviewed against the dish title and alt text: Japanese oyakodon-style chicken and rice bowl with tender chicken, vegetables, and steamed rice. The page also includes 3 visual checkpoints.
Prep Time
10 min
Cook Time
15 min
Total Time
25 min
Servings
2
2 bowls
Difficulty
Easy
Cost
Budget
$
Chicken and egg rice bowl in a savory-sweet dashi sauce
A fast Japanese rice bowl with tender chicken and softly set eggs in a light dashi broth that tastes comforting, clean, and deeply savory.
10m
Prep Time
15m
Cook Time
25m
Total Time
2
Servings
Easy
Difficulty
Budget $
Cost
Recipe by Mei Tanaka
Reviewed by RecipePool Baking & Breakfast Desk
Editorially reviewed for image relevance, instruction clarity, ingredient fit, visual checkpoints, and practical home-cooking usefulness.
//
Oyakodon is one of the smartest weeknight dinners around. It uses a handful of pantry staples, cooks in one pan, and somehow feels more soothing than almost any bigger production meal.
Recipe-specific review checks
Last reviewed May 20, 2026 by RecipePool Baking & Breakfast Desk. The checks below are tied to this recipe's image, cooking method, and reader support sections.
The hero image is reviewed against the dish title and alt text: Japanese oyakodon-style chicken and rice bowl with tender chicken, vegetables, and steamed rice. The page also includes 3 visual checkpoints.
The instructions are supported by stovetop and one pot cues for a main course and breakfast result, including timing, doneness, troubleshooting, and scaling guidance.
This page includes 2 tips, 2 recipe FAQs, and an editor note: Read through Japanese Oyakodon once before you start.
Kitchen intelligence
Before you start
Start by having boneless chicken thighs, sliced thin, cooked short-grain rice, and yellow onion, sliced ready, then combine the dashi, soy sauce, mirin, and sugar in a skillet and bring to a simmer.
Timing read
Plan for 10 minutes prep and 15 minutes cooking. Midway check: Pour the eggs evenly over the skillet, cover, and cook for 1 to 2 minutes until softly set.
Flavor logic
boneless chicken thighs, sliced thin, cooked short-grain rice, yellow onion, sliced, and eggs, lightly beaten carry the main flavor and texture, so measure them before you adjust seasoning or heat.
Serving plan
For Japanese and Main Course, the finish should match this final cue: Finish with scallions and serve immediately.
Visual checkpoints
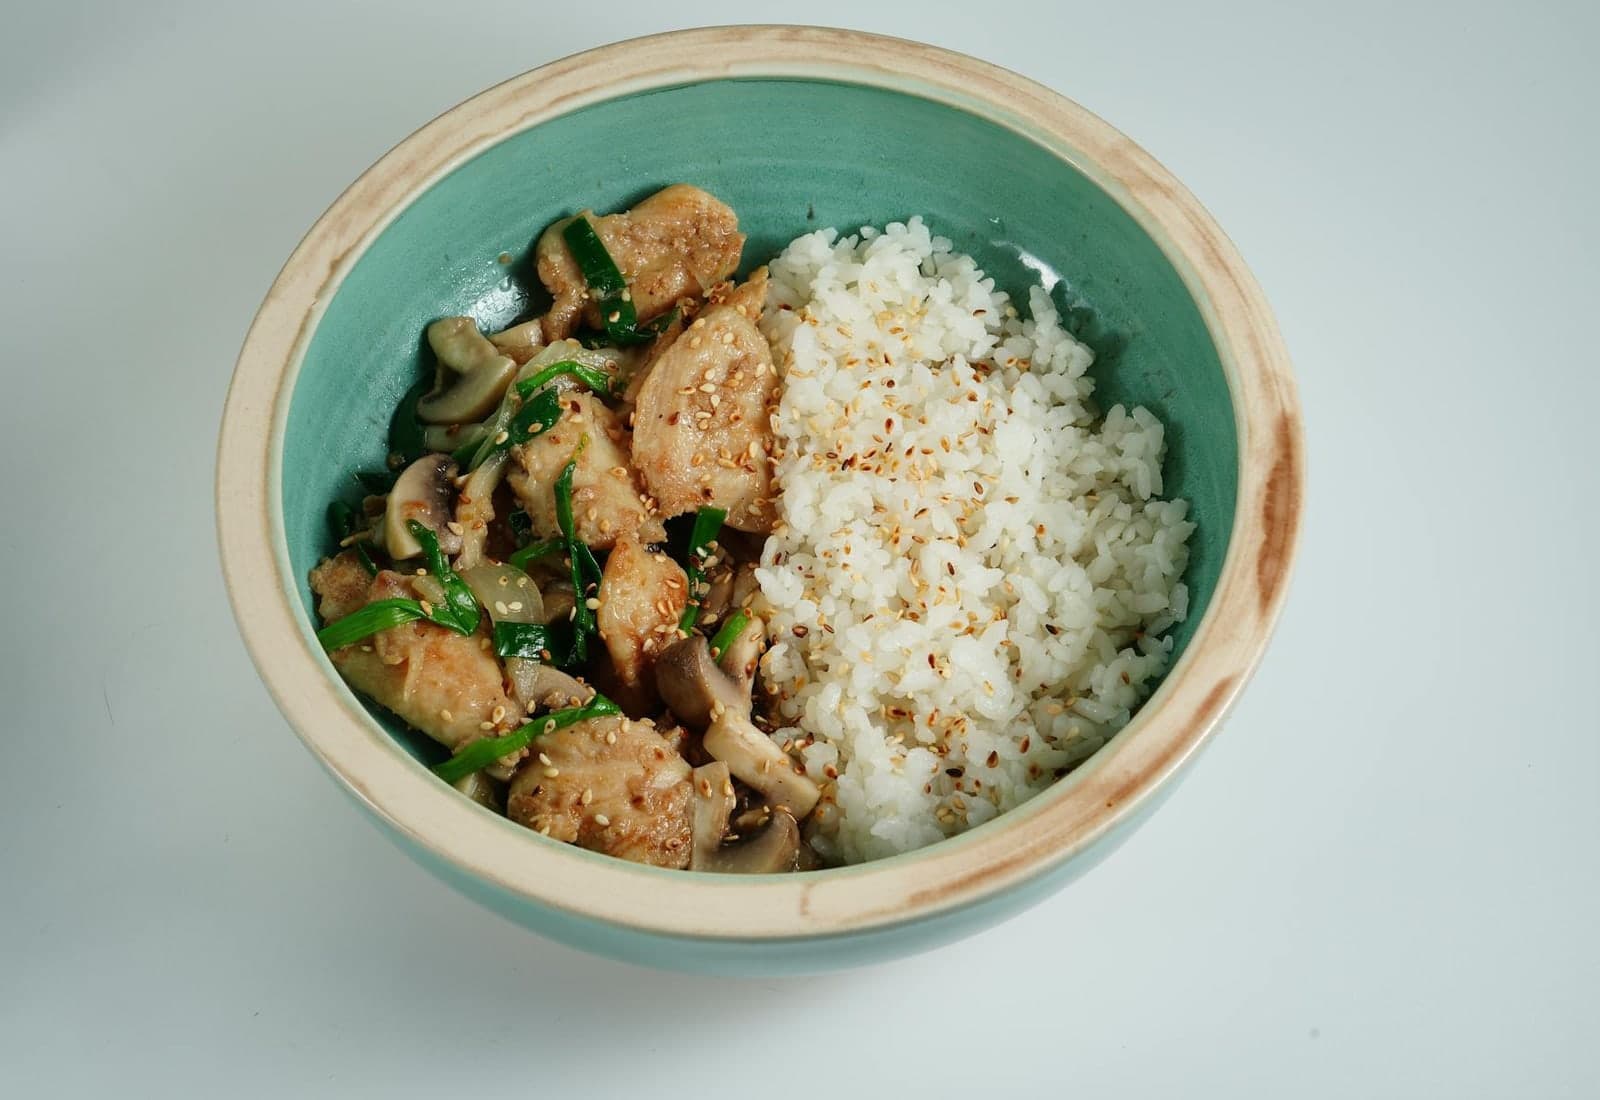
Japanese Oyakodon should look close to this before serving: clear color contrast, distinct texture, and a ready-to-eat finish.
Have 2 cups cooked short-grain rice, 10 oz boneless chicken thighs, sliced thin, 1/2 yellow onion, sliced measured and ready before heat goes on. Combine the dashi, soy sauce, mirin, and sugar in a skillet and bring to a simmer.
Finish with scallions and serve immediately.
Ingredient notes
Shopping focus
Boneless chicken thighs, cooked short-grain rice, yellow onion, and eggs carry most of the flavor. Spend attention there first.
Prep notes
Set up the ingredients in list order and keep time-sensitive items nearby.
Adjustment logic
If needed, use 1 teaspoon sugar plus 1 teaspoon water in place of Mirin. This mimics mirin's sweetness if you do not keep it on hand
Optional items
Keep the main items intact; use garnish, heat, or acidity for small adjustments.
Shopping guide
Buy first
Boneless chicken thighs and eggs are the ingredients most likely to affect freshness and texture.
Package check
Cooked short-grain rice, boneless chicken thighs, and dashi or chicken stock may come in larger containers than needed; confirm amounts before buying backups.
Cost control
Use store brands, pantry staples, or simpler sides before changing the core ingredients.
Storage planning
Best eaten fresh, though leftovers keep in the refrigerator for up to 1 day.
Useful Kitchen Picks
These are optional, recipe-relevant searches for tools or pantry staples that can make this specific recipe easier to repeat.
Helpful Pick
Mirin
Pantry upgrade
Mirin quietly rounds out sauces like this with sweetness and gloss. It is one of those ingredients you notice more when it is missing.
This adds balance, not just sweetness.
A bottle of mirin becomes surprisingly versatile once it is in the pantry.
Shop mirin for this recipeAs an Amazon Associate I earn from qualifying purchases. Product links are included when they are directly relevant to the recipe.
Combine the dashi, soy sauce, mirin, and sugar in a skillet and bring to a simmer.
Add the onion and chicken and cook for 5 to 6 minutes until the chicken is just done and the onion is tender.
Pour the eggs evenly over the skillet, cover, and cook for 1 to 2 minutes until softly set.
Spoon hot rice into bowls and slide the chicken and egg mixture over the top.
Finish with scallions and serve immediately.
Technique notes
Key method moments pulled from the written steps.
Prep phase
3 steps
Add the onion and chicken and cook for 5 to 6 minutes until the chicken is just done and the onion is tender.
Finish this step before adding ingredients or changing the heat.
Move on after this instruction is complete: add the onion and chicken and cook for 5 to 6 minutes until the chicken is just done and the onion is tender.
Finish phase
2 steps
Finish with scallions and serve immediately.
Add toppings after cooking so fresh, crunchy, or acidic finishes stay distinct.
Plate while the main dish is still hot, then add crunchy, acidic, or fresh garnishes right before serving.
Doneness cues
Look for
Finish with scallions and serve immediately.
Heat cue
If the surface is changing too fast before the center or sauce is ready, lower the heat and give the recipe time to catch up.
Timing cue
Use the 10 minutes prep window to get organized so the cooking stage can move without rushed substitutions.
Final adjustment
Read through Japanese Oyakodon once before you start.
Troubleshooting
Texture check
Check this step before adding heat or liquid: Pour the eggs evenly over the skillet, cover, and cook for 1 to 2 minutes until softly set.
Timing check
Japanese Oyakodon starts with about 10 minutes prep. Steady heat and small adjustments are usually enough.
Seasoning check
Before changing seasoning, check this tip: Beat the eggs just enough to streak the yolks and whites together without fully homogenizing them.
Leftover check
Reheat gently in a covered skillet with a splash of stock so the eggs do not toughen too much.
Scaling guide
Half batch
For Japanese Oyakodon, halve the main ingredients evenly and season lightly until the final taste check.
Double batch
For Japanese Oyakodon, use a wider pan, larger pot, or second tray so the moderate ingredient list has room.
Timing changes
Cook time starts around 15 minutes; prep starts around 10 minutes.
Leftover math
Best eaten fresh, though leftovers keep in the refrigerator for up to 1 day.
Make-ahead timeline
Earlier in the day
Start with this setup step: Combine the dashi, soy sauce, mirin, and sugar in a skillet and bring to a simmer.
Before serving
Japanese Oyakodon moves quickly, so avoid starting until the table, sides, and serving pieces are close to ready.
Leftover plan
Best eaten fresh, though leftovers keep in the refrigerator for up to 1 day.
Reheat without damage
Reheat gently in a covered skillet with a splash of stock so the eggs do not toughen too much.
Serve over steamed jasmine or sticky rice
Pair with a side of pickled vegetables or kimchi
Add a drizzle of sesame oil and toasted sesame seeds for extra flavor
Serve alongside fresh fruit and your favorite morning beverage
Meal fit
Meal role
Pair this main course and breakfast with sides that add contrast: crisp, fresh, acidic, or starchy as needed.
Best timing
Low-friction timing for Japanese Oyakodon. Add a small buffer if serving guests.
Diet fit
Keep the sides aligned with dairy-free: vegetables, grains, sauces, or garnishes should follow the same constraint.
Occasion fit
Good for weeknight dinner and brunch when sides can be handled while the main recipe cooks.
This mimics mirin's sweetness if you do not keep it on hand
Chicken stock is less delicate but still makes a very good bowl
Beat the eggs just enough to streak the yolks and whites together without fully homogenizing them.
Short-grain rice really matters here because it catches the sauce better than long-grain rice.
Best eaten fresh, though leftovers keep in the refrigerator for up to 1 day.
Reheat gently in a covered skillet with a splash of stock so the eggs do not toughen too much.
Read through Japanese Oyakodon once before you start. The method timing is a guide—texture and seasoning matter more than the clock.
Per serving (1 bowl) · 2 servings
A moderate-calorie serving · based on a 2,000 cal daily diet
Nutritional values are approximate and may vary based on specific ingredients and preparation methods.
Tell us what was unclear, what you changed, or what needs another look in Japanese Oyakodon.
Keep Browsing
Follow the ingredients, cooking style, or curated collections that connect naturally to Japanese Oyakodon.
Japanese Oyakodon is kept in the public catalog after review for image relevance, ingredient fit, instruction clarity, and practical page quality.