Category: Healthy

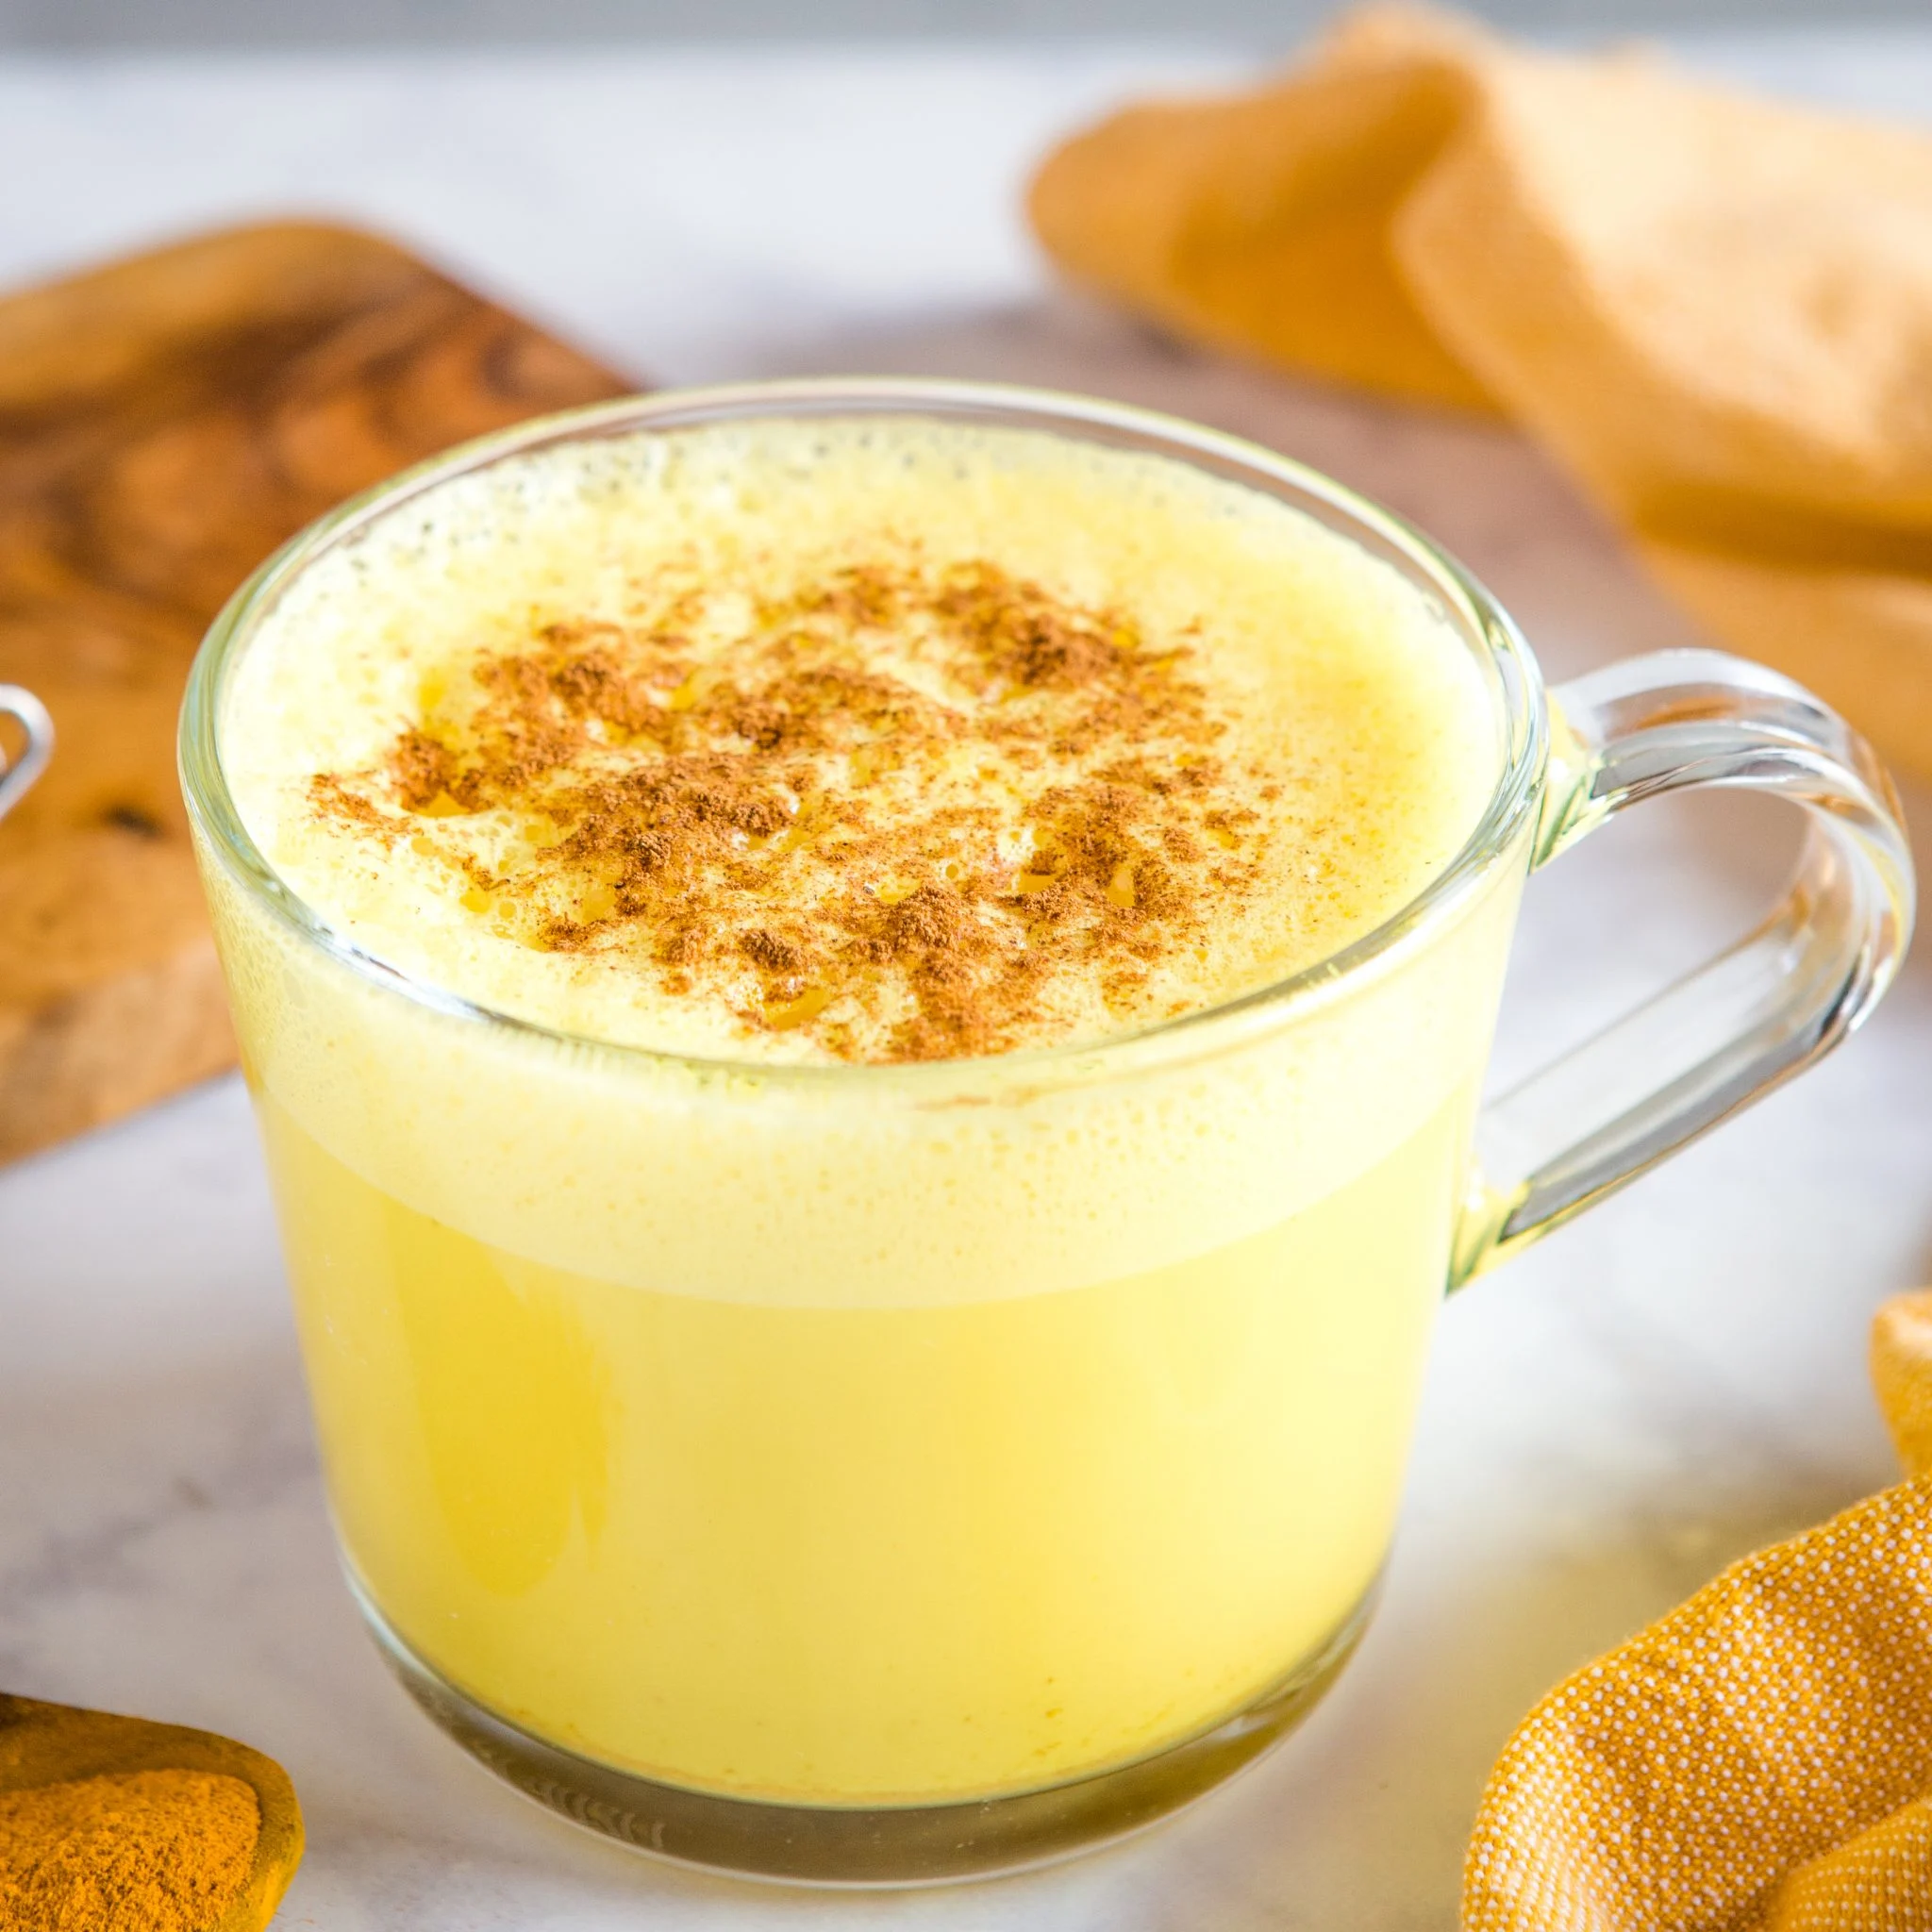
Turmeric Golden Milk (Golden Latte)

Description:
Turmeric Golden Milk, also known as a Golden Latte, is a warm, comforting, and healthy drink made with turmeric, which gives it its golden hue. It’s packed with anti-inflammatory properties and antioxidants, making it a perfect drink to relax and promote overall wellness. The combination of turmeric, ginger, and cinnamon adds warmth and flavor, while honey or maple syrup balances the earthy spices with a touch of sweetness. This trendy drink has been embraced by those looking for holistic and natural remedies for inflammation and immunity support.

Servings:

This recipe serves 2 people.

Ingredients

  • 2 cups unsweetened almond milk (or any milk of choice)
  • 1 tsp ground turmeric
  • 1/2 tsp ground cinnamon
  • 1/2 tsp ground ginger (or 1 tsp fresh ginger, grated)
  • 1/4 tsp black pepper (helps with absorption of curcumin in turmeric)
  • 1 tsp coconut oil (optional, for added creaminess and healthy fats)
  • 1 tbsp honey or maple syrup (optional)
  • 1/2 tsp vanilla extract (optional)
  • Ground cinnamon, for garnish

Instructions

  1. Warm the milk:
    In a small saucepan, heat the almond milk over medium heat until hot but not boiling.
  2. Whisk in the spices:
    Whisk in the turmeric, cinnamon, ginger, black pepper, coconut oil (if using), and vanilla extract (if using). Stir continuously until everything is well combined and the milk is warm and fragrant, about 3-4 minutes.
  3. Sweeten and serve:
    Remove from heat and stir in honey or maple syrup to taste, if desired. Pour into mugs and sprinkle with a dash of ground cinnamon on top.
  4. Optional: Froth the milk
    If you prefer a frothy texture, you can use a milk frother or blender to blend the mixture for 20-30 seconds until foamy.

Nutritional Information (Per Serving)

  • Calories: 110 kcal
  • Protein: 2g
  • Fat: 5g
  • Saturated Fat: 2.5g
  • Carbohydrates: 15g
  • Fiber: 2g
  • Sugar: 7g
  • Sodium: 150mg

Additional Information:

Health Benefits of Turmeric Golden Milk:
Turmeric Golden Milk is not only trendy but also a powerhouse of health benefits. Turmeric is known for its anti-inflammatory and antioxidant properties, thanks to its active compound curcumin. When paired with black pepper, curcumin absorption is significantly enhanced. The combination of turmeric, ginger, and cinnamon helps reduce inflammation, improve digestion, and support immune function. This warm drink is often enjoyed as a caffeine-free alternative to coffee or tea, providing a cozy, soothing effect.

Diets:
This recipe fits into a variety of dietary lifestyles, including:

  • Vegan: When made with almond milk or any plant-based milk and sweetened with maple syrup.
  • Vegetarian
  • Paleo: Use full-fat coconut milk and omit the sweeteners or use natural ones like maple syrup.
  • Mediterranean: Focuses on anti-inflammatory ingredients like turmeric and healthy fats from coconut oil.
  • Keto: Use full-fat coconut milk and avoid the sweeteners, or use a keto-friendly sweetener like stevia.
  • Gluten-Free: Naturally gluten-free.
  • Dairy-Free: When made with almond milk or any plant-based milk.
  • Low-Carb: With minimal carbs from the unsweetened almond milk and optional honey.

Customization Options:
Golden Milk can be customized in several ways. For a richer, creamier drink, substitute half of the almond milk with coconut milk. You can also add other spices like cardamom or nutmeg for extra warmth. For those who want an immune boost, add a small pinch of ground cayenne pepper. The drink can be enjoyed warm, but during the summer months, it’s just as delicious served cold over ice.

When to Enjoy:
Golden Milk is perfect for any time of day, but it’s especially popular as a soothing bedtime drink due to its relaxing properties. It’s caffeine-free, making it a great choice for those looking to cut back on coffee or tea. It can also be enjoyed in the morning to start your day with a dose of anti-inflammatory goodness.

Notes:

  • Storage: You can store any leftover golden milk in the refrigerator for up to 3 days. Reheat before serving and stir well, as the spices may settle.
  • Curcumin absorption: Don’t skip the black pepper—it helps your body absorb curcumin, the active compound in turmeric, more effectively.
  • Sweeteners: Adjust the sweetness to your liking, or omit it entirely for a sugar-free version.

This Turmeric Golden Milk is a comforting, health-boosting drink that’s been embraced by wellness communities and health enthusiasts around the world. It’s easy to make, packed with flavor, and offers a range of health benefits to support overall well-being.

Read More

Baked Oats

Description:
Baked oats have become a social media sensation, especially on TikTok, for their ease, versatility, and dessert-like texture while being a healthy breakfast option. Essentially, it’s a nutritious oatmeal turned into a cake-like treat that can be customized with various flavors and toppings. This single-serve baked oats recipe is perfect for breakfast or a snack, and it’s packed with fiber, healthy fats, and a satisfying sweetness.

Servings:

This recipe makes 1 serving.

Ingredients

  • 1/2 cup rolled oats
  • 1/2 ripe banana
  • 1 egg (or flax egg for vegan)
  • 1/4 cup almond milk (or any milk of choice)
  • 1 tbsp maple syrup or honey
  • 1/2 tsp baking powder
  • 1/4 tsp vanilla extract
  • Pinch of salt
  • Optional mix-ins: 1 tbsp chocolate chips, berries, or nuts
  • Toppings: Peanut butter, yogurt, or fresh fruit

Instructions

  1. Preheat the oven:
    Preheat your oven to 350°F (175°C) and lightly grease a small oven-safe ramekin or baking dish.
  2. Blend the ingredients:
    In a blender, combine the rolled oats, banana, egg, almond milk, maple syrup, baking powder, vanilla extract, and salt. Blend until smooth and creamy. The texture should be similar to pancake batter.
  3. Add mix-ins:
    If using, stir in chocolate chips, berries, or nuts.
  4. Bake:
    Pour the mixture into the greased ramekin and bake for 20-25 minutes, or until the top is golden and a toothpick inserted into the center comes out clean.
  5. Serve:
    Let it cool for a few minutes before adding your favorite toppings like peanut butter, yogurt, or fresh fruit. Serve warm.

Nutritional Information (Per Serving)

  • Calories: 350 kcal
  • Protein: 11g
  • Fat: 9g
  • Saturated Fat: 2g
  • Carbohydrates: 54g
  • Fiber: 6g
  • Sugar: 14g
  • Sodium: 200mg

Additional Information:

Why Baked Oats?
Baked oats have taken off on social media, especially for people looking for a healthy yet indulgent breakfast that feels like dessert. Unlike regular stovetop oatmeal, baked oats have a cake-like texture that feels more substantial and satisfying. The best part is the customization—you can make them chocolatey, fruity, or nutty based on your cravings.

Customizable Flavors:
One of the most popular aspects of baked oats is how customizable they are. You can add cocoa powder to create a chocolate version, toss in blueberries or raspberries for a fruity version, or even swirl in peanut butter for a decadent treat. For a dessert-like twist, you can blend in a couple of chocolate chips or a dash of cinnamon.

Health Benefits of Oats:
Oats are packed with fiber, particularly beta-glucan, which is known for its cholesterol-lowering properties. They are also a great source of antioxidants, vitamins, and minerals. Combined with the natural sweetness of bananas and the protein from the egg or flax egg, baked oats provide a balanced, wholesome breakfast or snack option.

Vegan and Gluten-Free Adjustments:
To make this recipe vegan, simply replace the egg with a flax egg (1 tbsp ground flaxseed mixed with 3 tbsp water) and use maple syrup instead of honey. This recipe is naturally gluten-free as long as you use certified gluten-free oats.

Meal Prep Friendly:
Although this is a single-serve recipe, you can easily multiply the ingredients to make a batch of baked oats. Store leftovers in the fridge for up to 3 days, and simply reheat them in the microwave for a quick and easy breakfast.

Notes:

  • Blender tip: Blending the oats helps create that smooth, cake-like texture, but if you prefer a chunkier texture, you can mix the ingredients by hand without blending.
  • Toppings: Experiment with different toppings like almond butter, Greek yogurt, shredded coconut, or even a drizzle of honey for added sweetness.

This Baked Oats recipe is a trendy, delicious, and healthy way to start your day with minimal effort. It’s quick to make, easy to customize, and perfect for those who want a nutritious yet indulgent breakfast or snack.

Read More

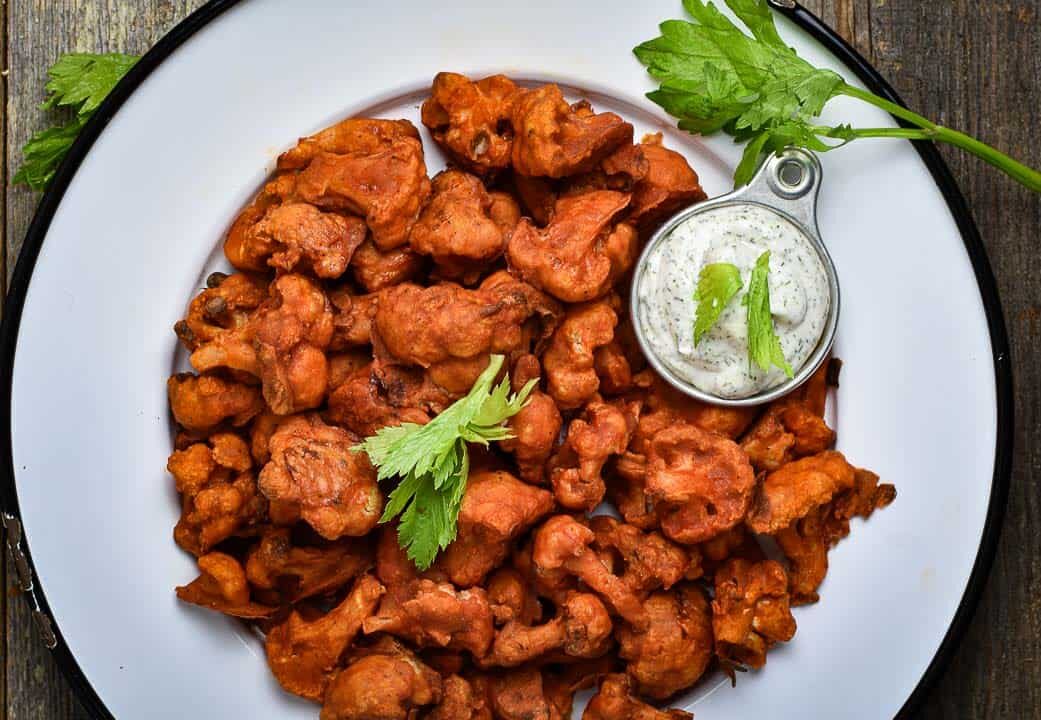
Vegan Buffalo Cauliflower Wings

Description:
These Vegan Buffalo Cauliflower Wings are a delicious, healthy, and spicy alternative to traditional buffalo wings. Made by roasting cauliflower florets in a crispy batter and then tossing them in a tangy buffalo sauce, this dish is perfect for those looking for a plant-based option. It’s a hit at parties, game days, or as a flavorful snack. Serve with vegan ranch or blue cheese dip for the ultimate experience.

Servings:

This recipe serves 4 people.

Ingredients

  • 1 large head of cauliflower, cut into bite-sized florets
  • 1 cup all-purpose flour (or gluten-free flour for a GF option)
  • 1 cup almond milk (or any non-dairy milk of choice)
  • 1 tsp garlic powder
  • 1 tsp paprika
  • 1/2 tsp onion powder
  • 1/4 tsp black pepper
  • 1/4 tsp salt
  • 1 cup buffalo sauce (check ingredients to ensure it’s vegan)
  • 2 tbsp vegan butter, melted
  • Fresh parsley or celery, for garnish (optional)

Instructions

  1. Preheat the oven:
    Preheat your oven to 450°F (230°C). Line a baking sheet with parchment paper or lightly grease it with cooking spray.
  2. Prepare the batter:
    In a large mixing bowl, whisk together the flour, almond milk, garlic powder, paprika, onion powder, salt, and pepper until smooth. The batter should be thick enough to coat the cauliflower but still drip off easily.
  3. Coat the cauliflower:
    Dip each cauliflower floret into the batter, ensuring it is evenly coated. Shake off any excess batter and place the florets in a single layer on the prepared baking sheet.
  4. Bake the cauliflower:
    Bake the cauliflower for 20-25 minutes, turning halfway through, until golden brown and crispy on the edges.
  5. Prepare the buffalo sauce:
    While the cauliflower is baking, whisk together the buffalo sauce and melted vegan butter in a small bowl.
  6. Toss the cauliflower in sauce:
    Once the cauliflower is done baking, remove it from the oven and toss it gently in the buffalo sauce until fully coated. Return the sauced cauliflower to the baking sheet and bake for an additional 10 minutes.
  7. Serve:
    Remove from the oven and let cool slightly. Garnish with fresh parsley or serve with celery sticks, vegan ranch, or vegan blue cheese dip on the side.

Nutritional Information (Per Serving)

  • Calories: 200 kcal
  • Protein: 5g
  • Fat: 9g
  • Saturated Fat: 1.5g
  • Carbohydrates: 28g
  • Fiber: 4g
  • Sugar: 3g
  • Sodium: 900mg

Additional Information:

Why Cauliflower Wings?
Cauliflower wings have become increasingly popular as a healthy and vegan-friendly alternative to traditional chicken wings. Cauliflower is a versatile vegetable that absorbs flavors well and develops a crispy, satisfying texture when roasted. Plus, it’s packed with nutrients like vitamin C, vitamin K, and fiber. These buffalo cauliflower wings provide the spicy, tangy flavor of buffalo wings without the meat, making them ideal for vegans and vegetarians—or anyone looking to reduce their meat intake.

How to Serve:
These wings are best served hot, fresh out of the oven. They pair wonderfully with a vegan ranch or blue cheese dip and are great alongside classic sides like celery or carrot sticks. You can also add them to wraps or sandwiches for a hearty meal.

Meal Prep and Leftovers:
While these wings are best enjoyed fresh, you can store leftovers in the fridge for up to 3 days. To reheat, place them back in the oven at 375°F (190°C) for about 10-12 minutes to re-crisp them. Avoid microwaving, as it may make them soggy.

Customization Options:
For those who enjoy a little extra heat, feel free to add a pinch of cayenne pepper to the batter or sauce. If you prefer a milder version, you can use BBQ sauce instead of buffalo sauce. The batter can also be customized with different seasonings to fit your taste preferences—try adding smoked paprika or nutritional yeast for added depth.

Dietary Adjustments:
This recipe is naturally vegan and can easily be made gluten-free by substituting all-purpose flour with a gluten-free flour blend. If you are avoiding oil or butter, you can skip the vegan butter in the buffalo sauce for a slightly lighter version.

Notes:

  • Crispiness tip: For extra crispy wings, broil them for 1-2 minutes after tossing them in the buffalo sauce, but keep an eye on them to avoid burning.
  • Serving suggestion: These wings make an excellent appetizer or side dish at gatherings, game days, or even as a flavorful snack. If you’re making this dish for a crowd, feel free to double the recipe!

These Vegan Buffalo Cauliflower Wings are a must-try for anyone looking to enjoy the classic flavors of buffalo wings in a healthier, plant-based form. Whether you’re vegan, vegetarian, or just curious, these wings are sure to become a favorite!

Read More

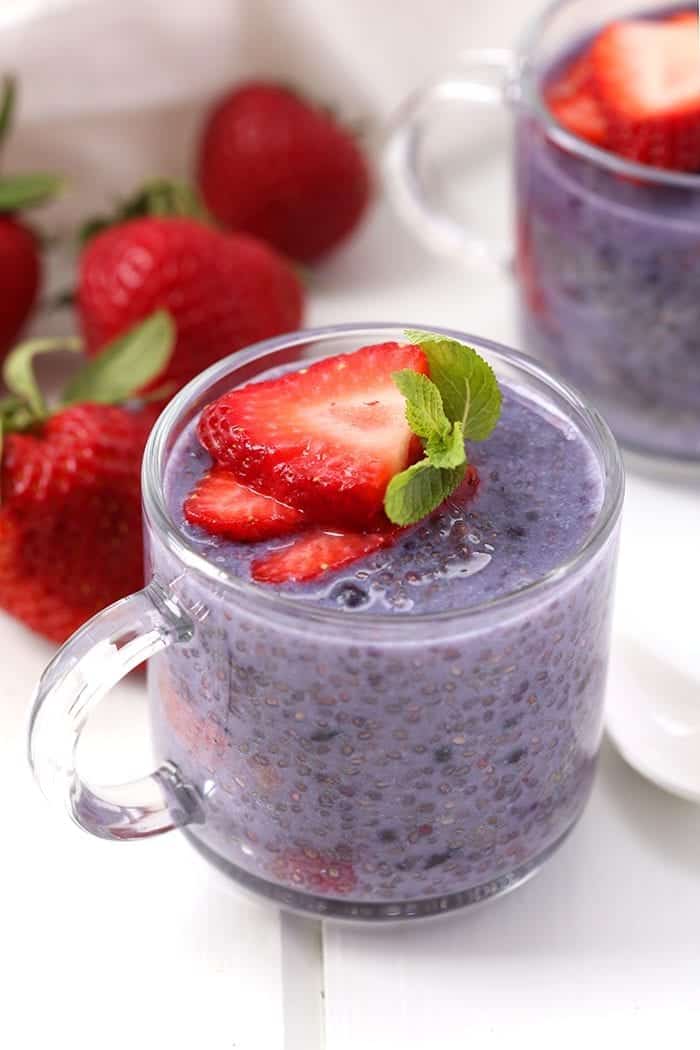
Chia Pudding with Berries and Honey

Description:
Chia pudding is a creamy and nutrient-dense dish made with chia seeds soaked in liquid until they form a gel-like consistency. It’s rich in fiber, omega-3 fatty acids, and essential nutrients, making it a popular choice for health-conscious eaters. This versatile recipe can be enjoyed as a breakfast, snack, or dessert, and it’s easy to customize with your favorite flavors and toppings.

Chia seeds are unique because they can absorb up to 12 times their weight in liquid, creating a thick, pudding-like texture. In addition to being highly nutritious, they’re also hydrating and can help promote a feeling of fullness, making this dish ideal for those looking for a healthy and satisfying option.

Servings:

This recipe serves 4 people.

Ingredients

  • 1/2 cup chia seeds
  • 2 cups almond milk (or any milk of choice)
  • 1 tbsp maple syrup or honey (optional)
  • 1 tsp vanilla extract
  • Fresh berries (blueberries, raspberries, or strawberries) for topping
  • 2 tbsp sliced almonds or granola, for garnish (optional)
  • 1 tbsp honey, for drizzling (optional)

Instructions

  1. Mix the chia pudding base:
    In a medium bowl, whisk together chia seeds, almond milk, maple syrup (or honey), and vanilla extract. Stir well to ensure the chia seeds are evenly dispersed.
  2. Let it set:
    Cover the bowl and refrigerate for at least 4 hours, or overnight. The chia seeds will absorb the liquid and thicken to a pudding-like consistency.
  3. Stir and adjust consistency:
    After the chia pudding has set, stir it to break up any clumps. If the pudding is too thick, you can stir in a bit more almond milk to reach your desired consistency.
  4. Serve:
    Divide the chia pudding into bowls or jars. Top with fresh berries, sliced almonds or granola, and a drizzle of honey for sweetness.

Nutritional Information (Per Serving)

  • Calories: 190 kcal
  • Protein: 5g
  • Fat: 11g
  • Saturated Fat: 1g
  • Carbohydrates: 17g
  • Fiber: 11g
  • Sugar: 7g
  • Sodium: 60mg

Additional Information:

Health Benefits of Chia Seeds:
Chia seeds are often referred to as a superfood due to their impressive nutritional profile. They are an excellent source of omega-3 fatty acids, which are essential for heart health. Additionally, chia seeds are rich in fiber, which aids in digestion and promotes satiety. The protein content in chia seeds also makes them a great option for those following plant-based diets.

Make-Ahead and Meal Prep Tips:
Chia pudding can be made ahead of time and stored in the fridge for up to 5 days, making it an ideal option for meal prepping. Prepare the pudding in individual jars for an easy grab-and-go breakfast or snack. Customize each serving with different toppings like fruit, nuts, or coconut flakes to keep things exciting throughout the week.

Dietary Adjustments:
This recipe is naturally gluten-free and can easily be made vegan by using maple syrup instead of honey. For those with nut allergies, substitute almond milk with coconut milk, oat milk, or any other dairy-free alternative. The dish is flexible, allowing you to cater to a variety of dietary preferences without compromising on flavor.

Customization Ideas:
While this recipe highlights berries and honey, chia pudding is a fantastic base for other flavors. Add cocoa powder for a chocolate chia pudding or blend the mixture with fruits like mangoes or bananas for a fruit-infused version. You can also experiment with spices like cinnamon or nutmeg for extra warmth and depth of flavor.

Notes:

  • Sweetness adjustment: Adjust the amount of sweetener (honey or maple syrup) according to your taste. You can even omit it altogether if you prefer a more neutral base.
  • Consistency: The longer the chia pudding sits, the thicker it will become. If you prefer a thinner consistency, simply add more almond milk before serving.
  • Toppings: Don’t hesitate to get creative with your toppings—try shredded coconut, dark chocolate shavings, or even nut butter for a richer treat.

This chia pudding recipe is not only delicious but also nutritious and easy to make, making it a perfect addition to any healthy eating routine. Whether you enjoy it for breakfast, a snack, or dessert, it’s sure to become a favorite in your household.

Read More